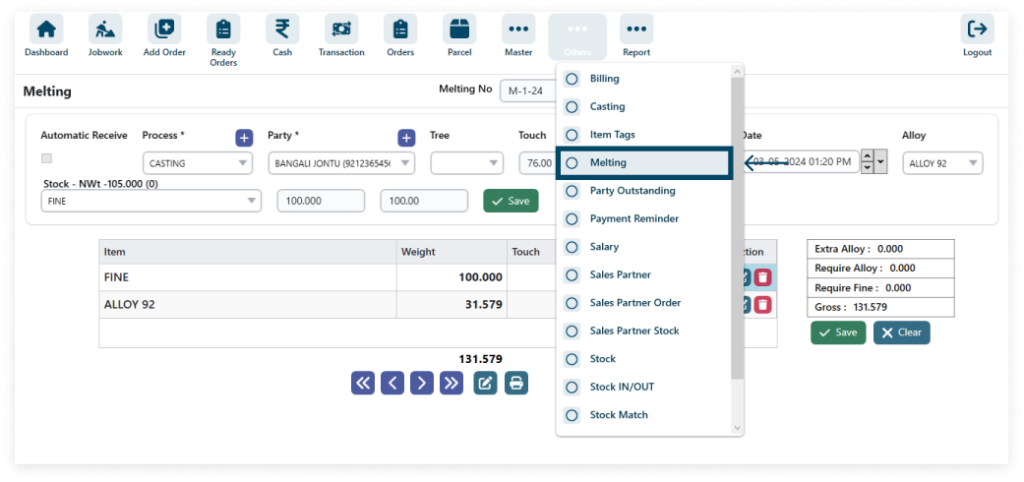
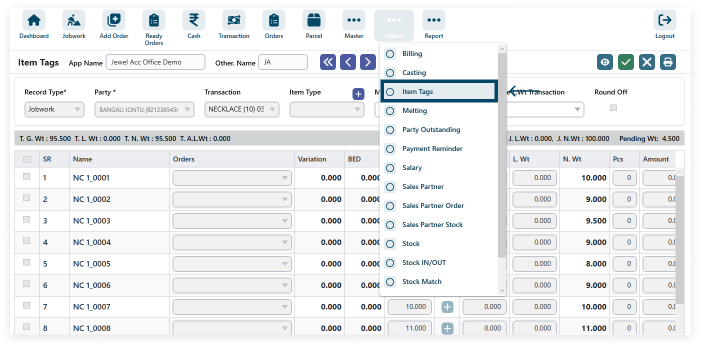
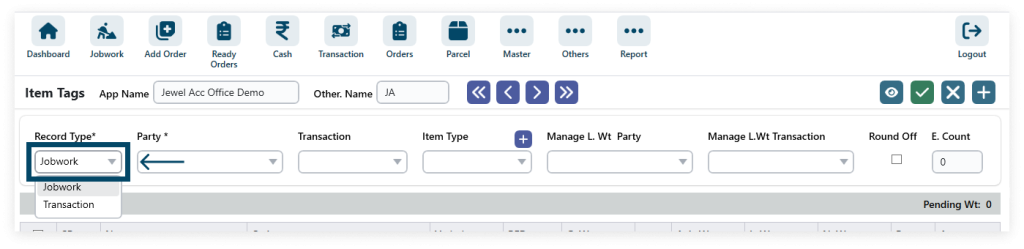
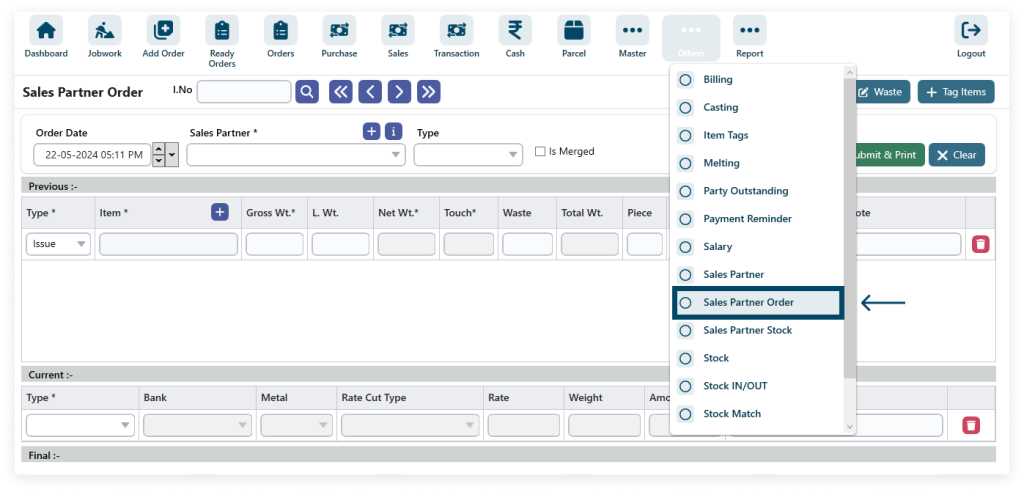
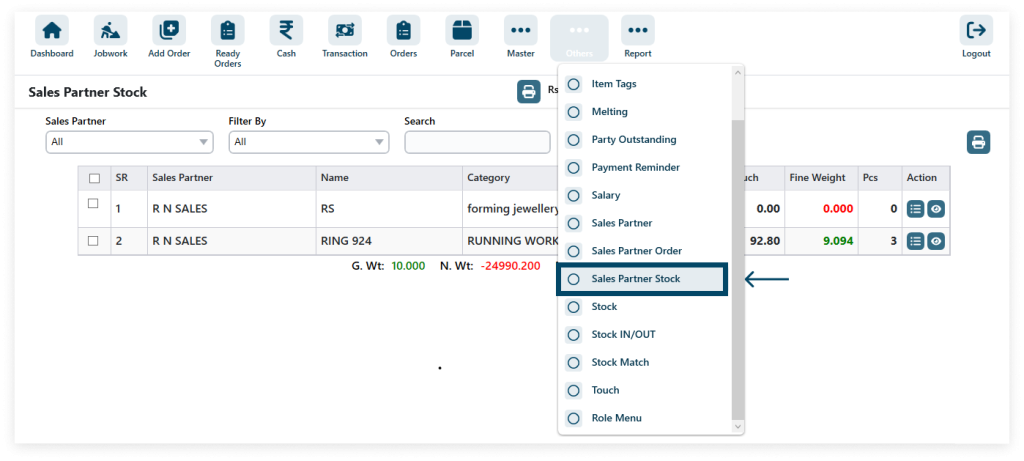
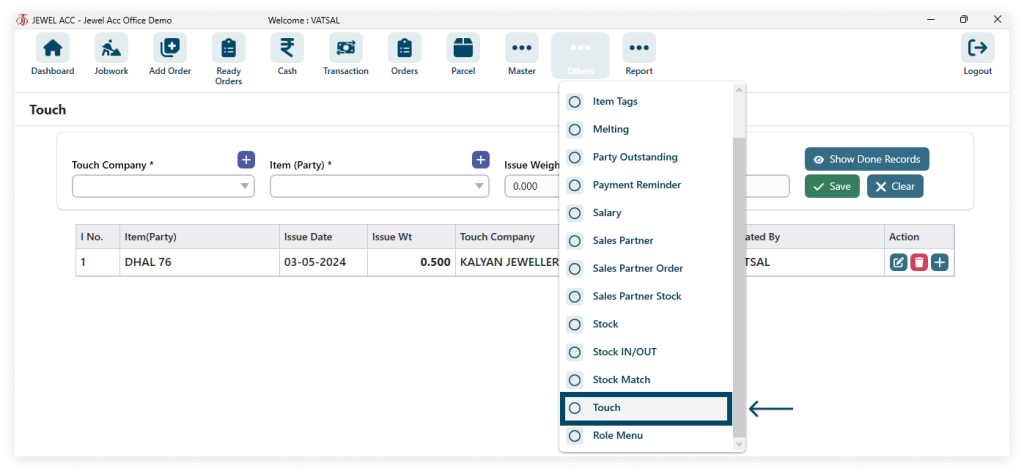
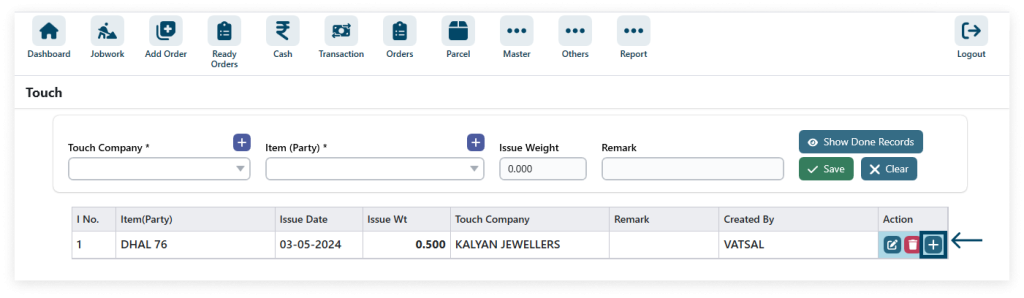
1. Navigate to Other and select Billing to access billing-related features.
Go to other → Billing

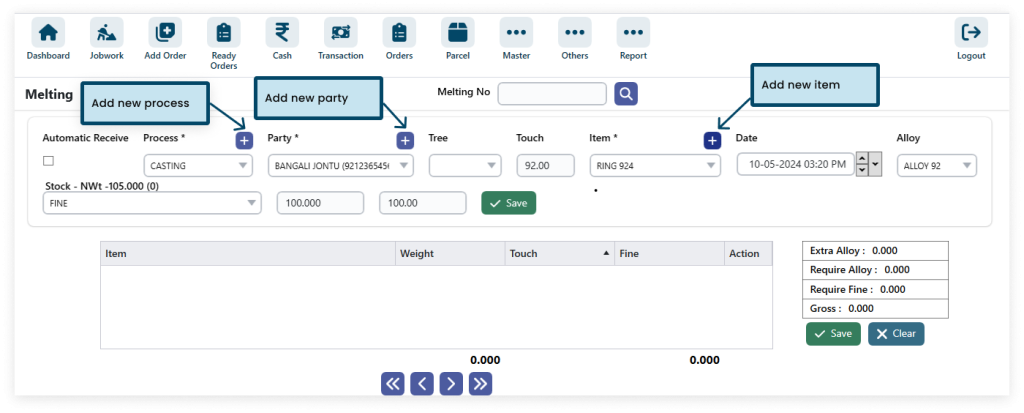
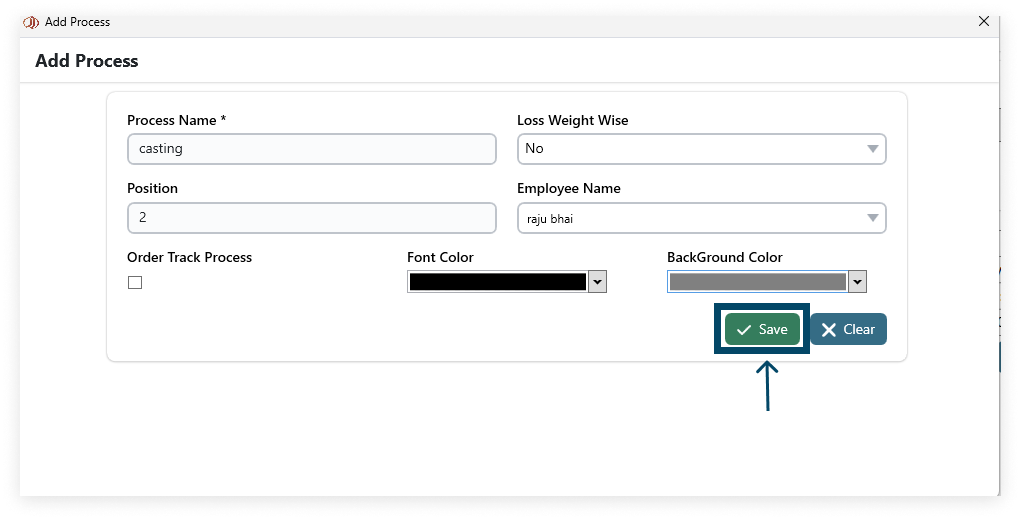
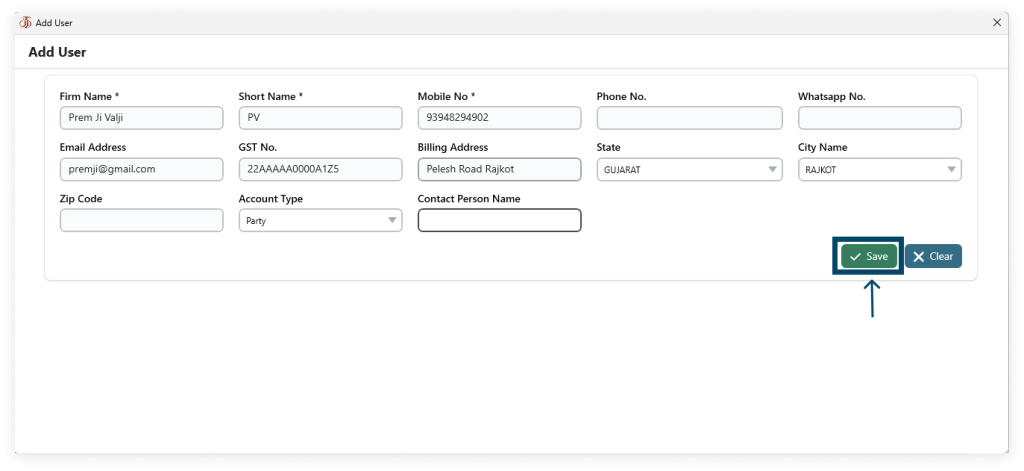
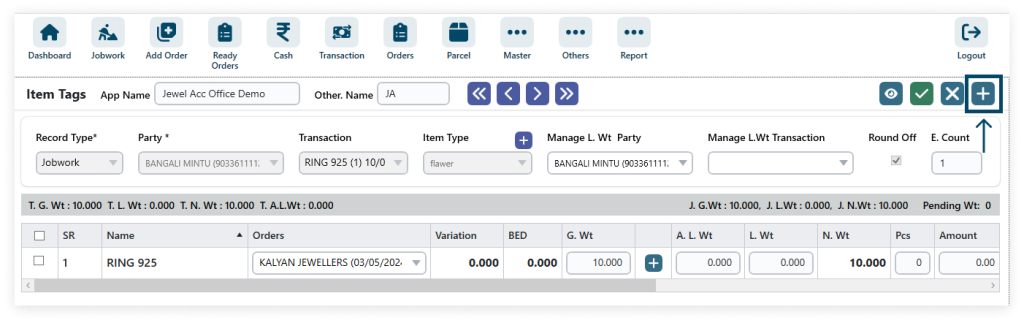
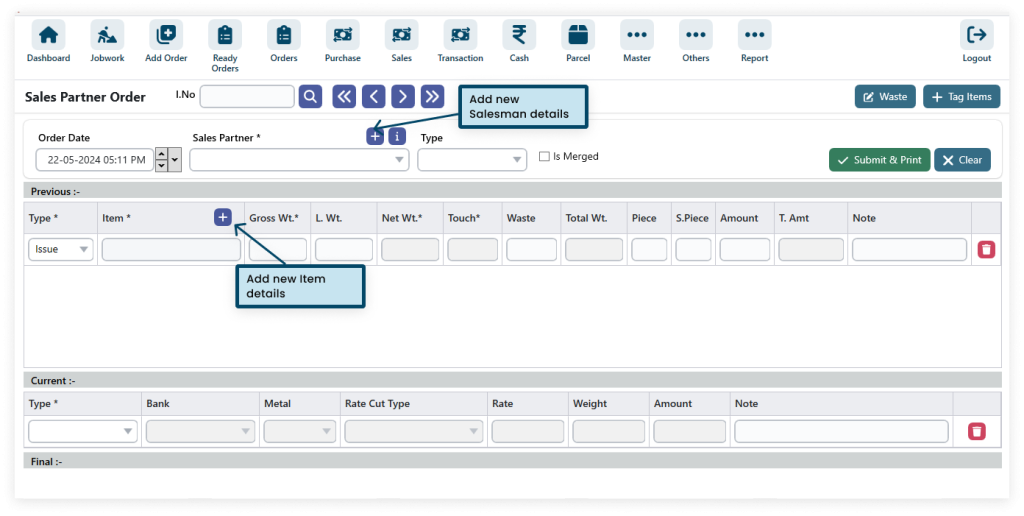
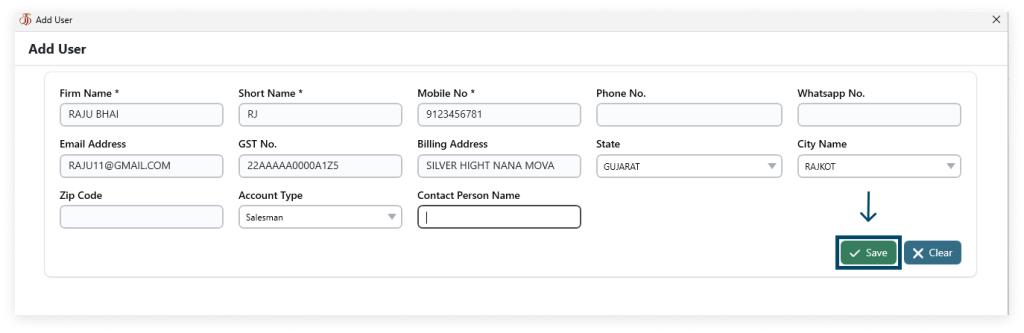
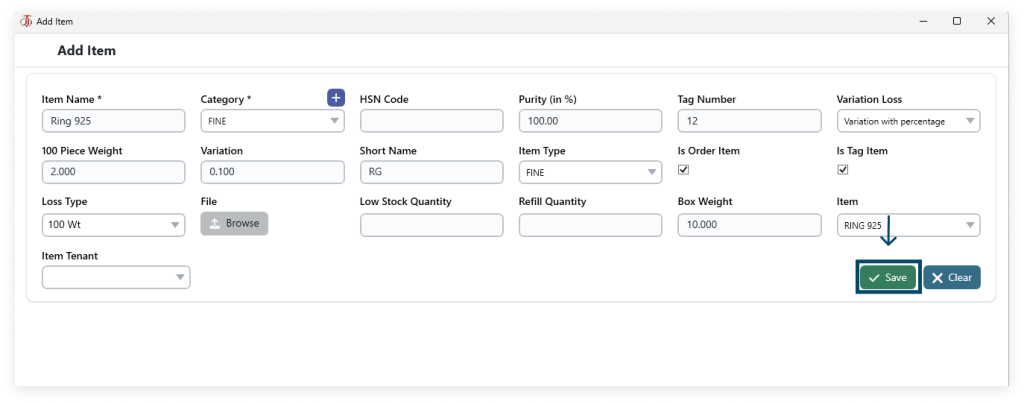
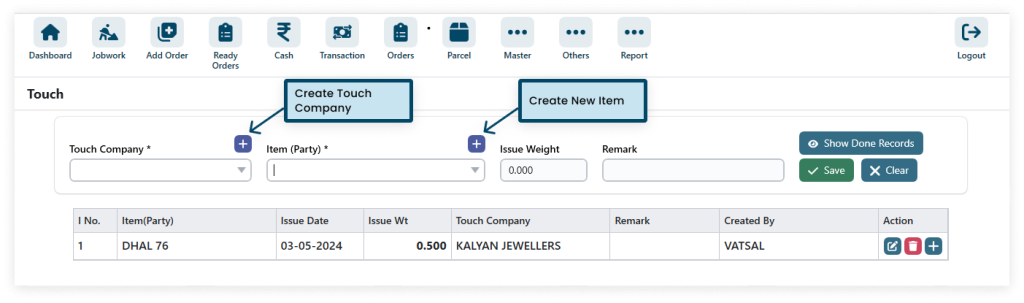
2. To add a new party or item, simply click on the plus icon, and then select New Party or New Item from the menu.
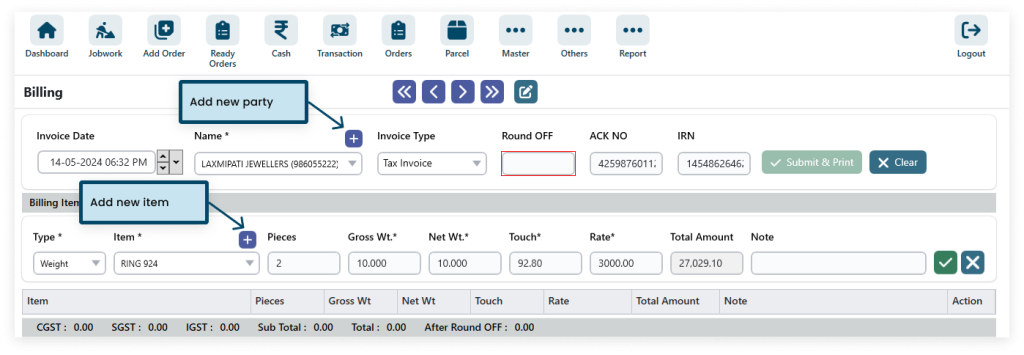
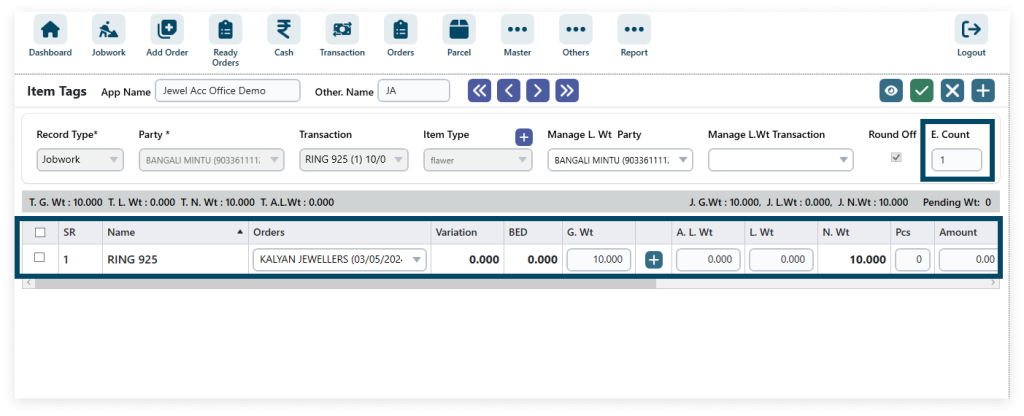
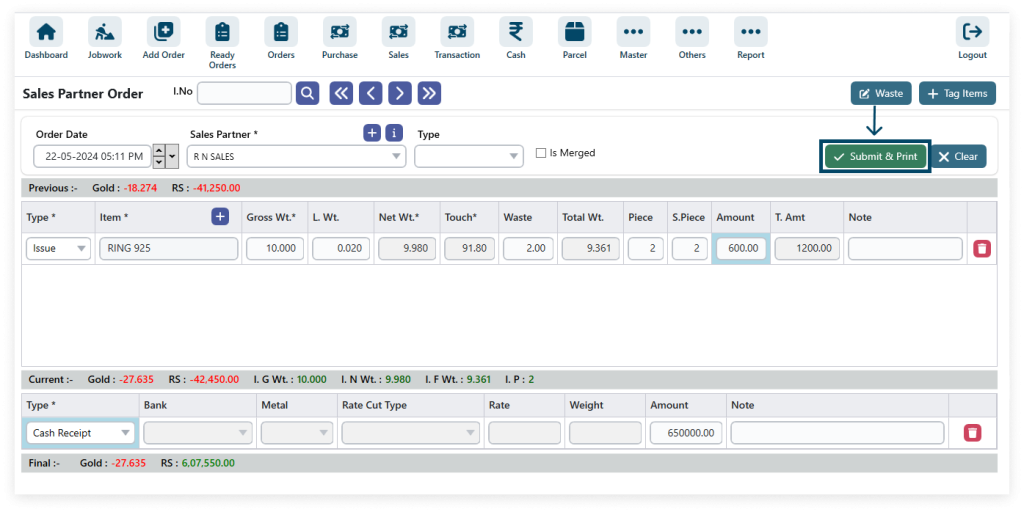
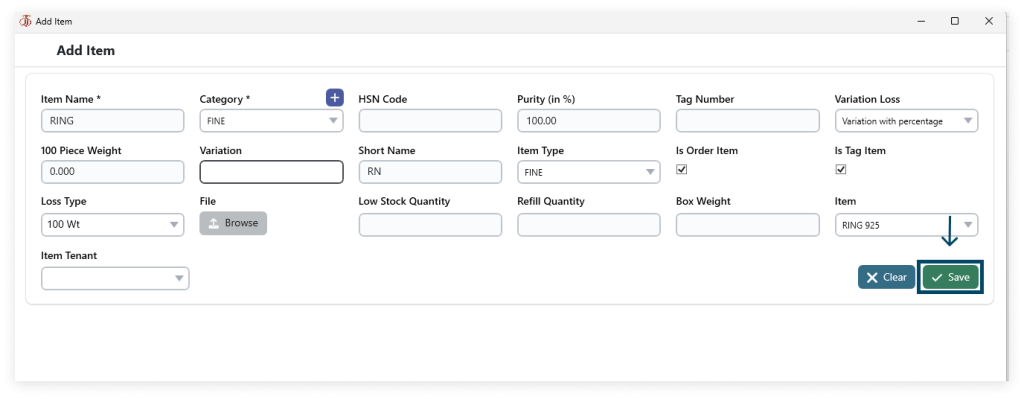
3. Add details.
While create a invoice select INVOICE TYPE
– Tax Invoice
– Labor Invoice
In this software, select the amount and weight types to initiate the calculation process.
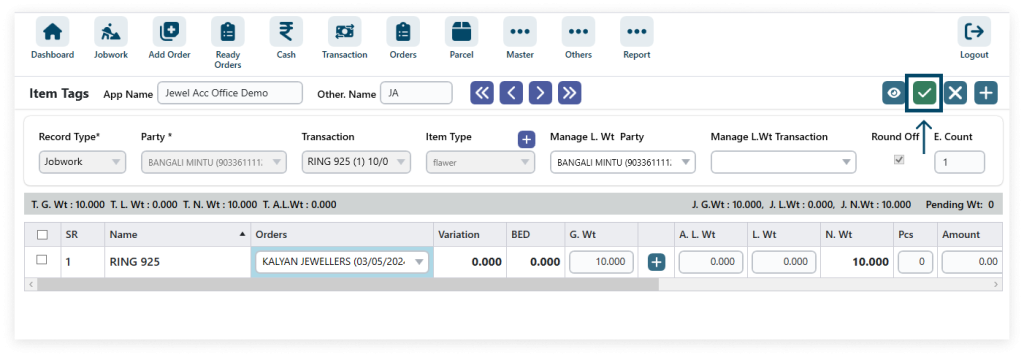
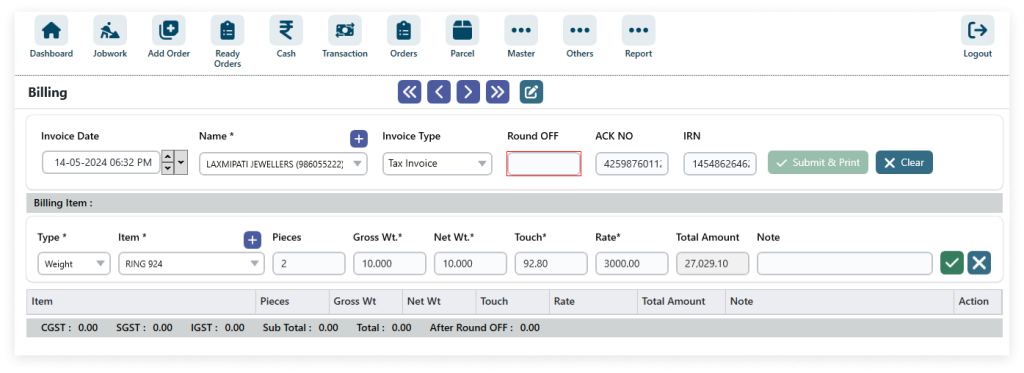
4. After filling in all the details (* field required) click on SUBMIT & PRINT.
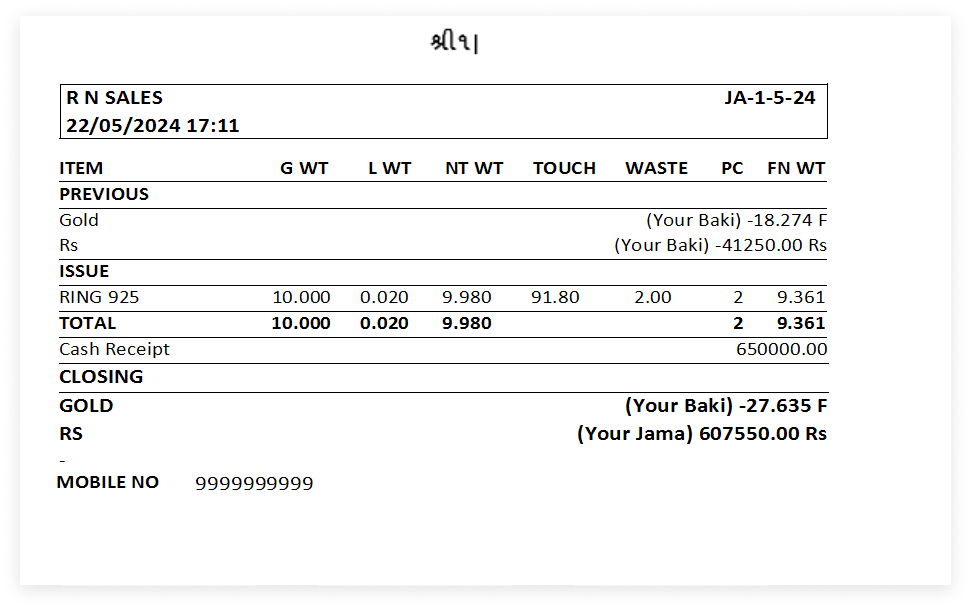
View the print.


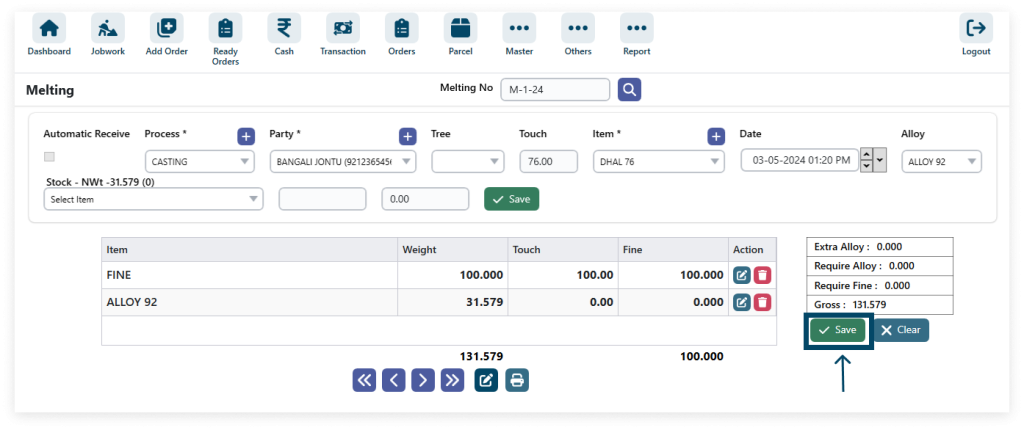
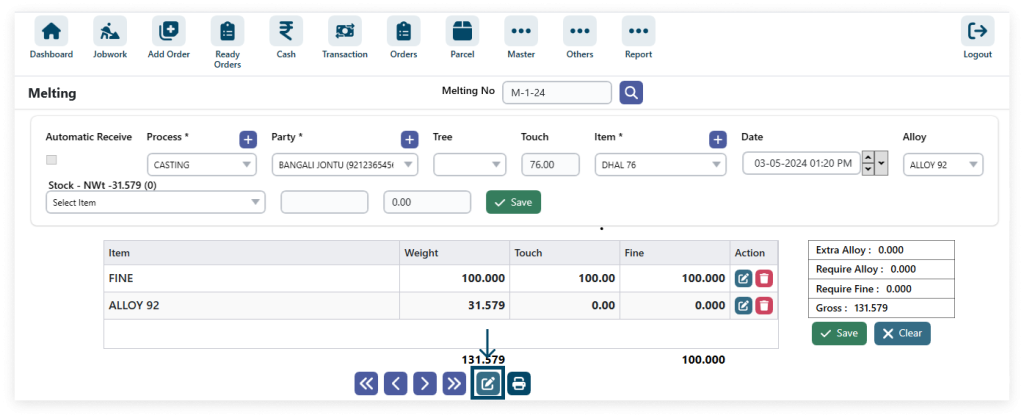
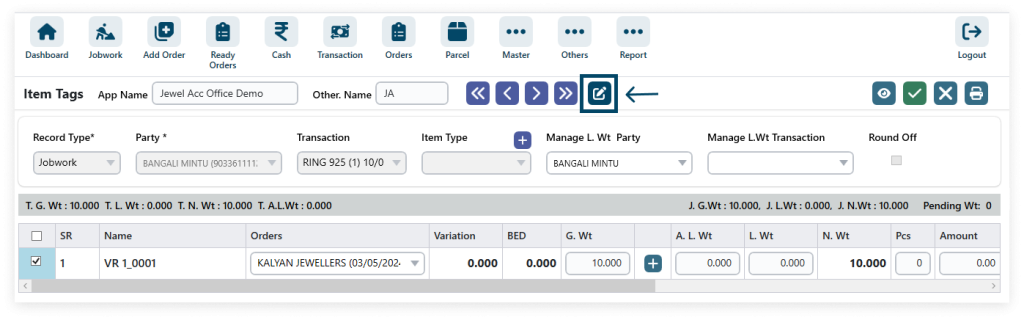
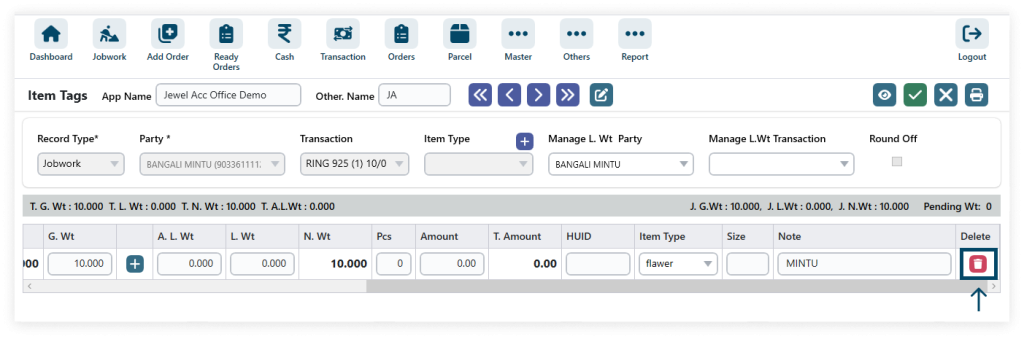
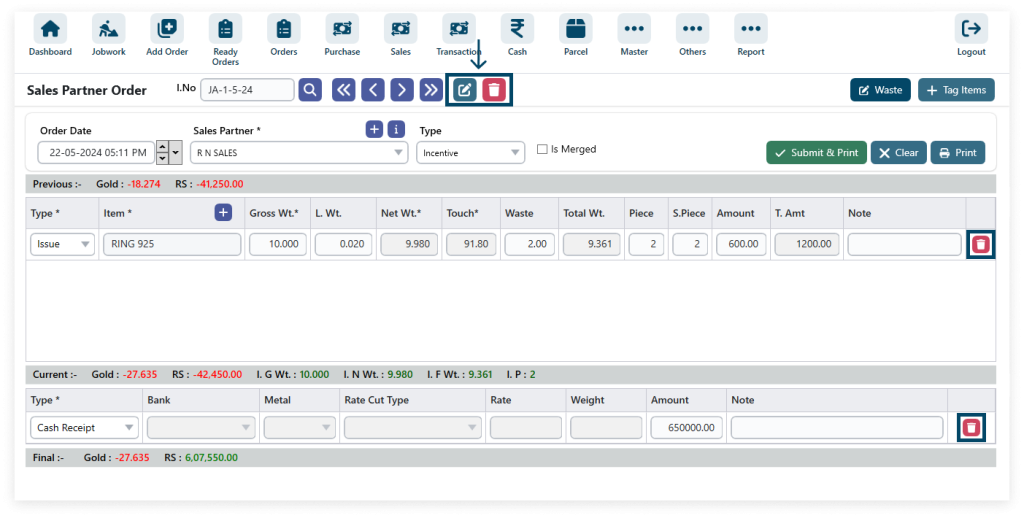
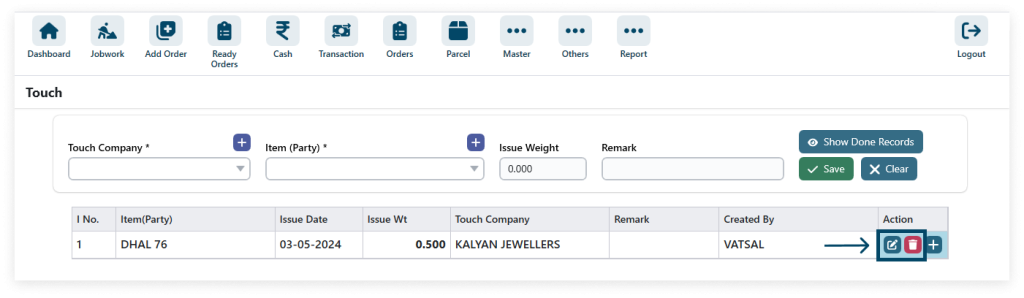
5. Edit icon: pencil symbolizes modification. Delete icon: trash bin indicates removal of content.

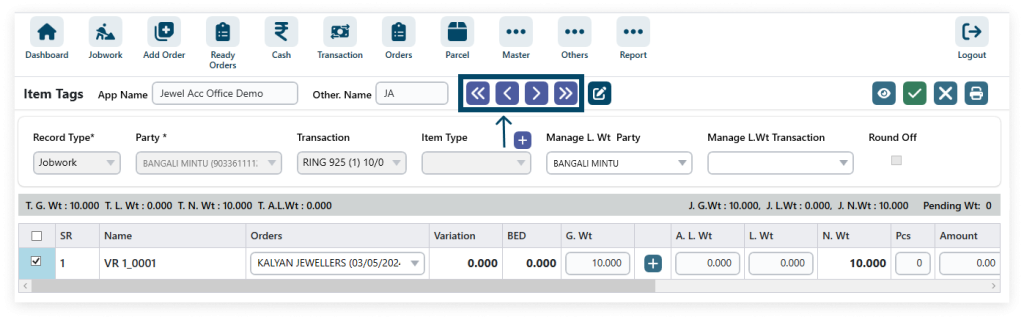
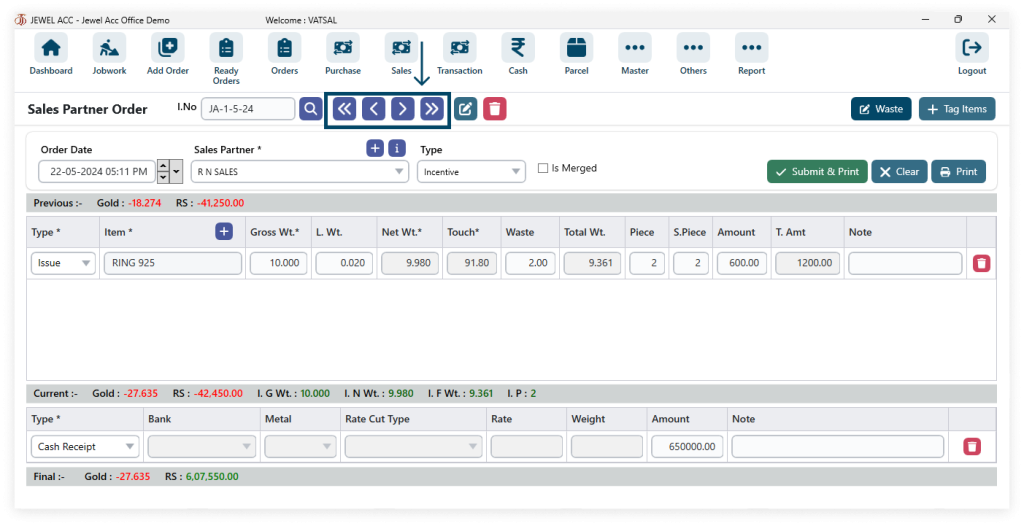
6. Click on Previous Party to navigate to the preceding event, and Next Party for the subsequent one.
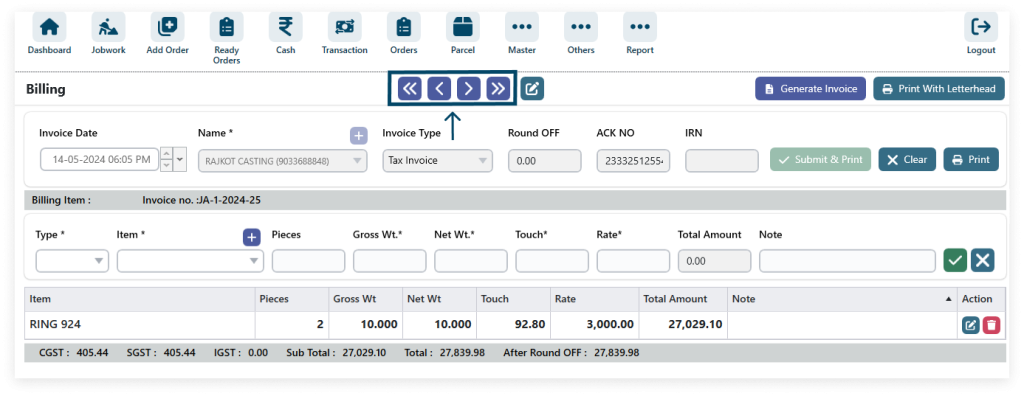
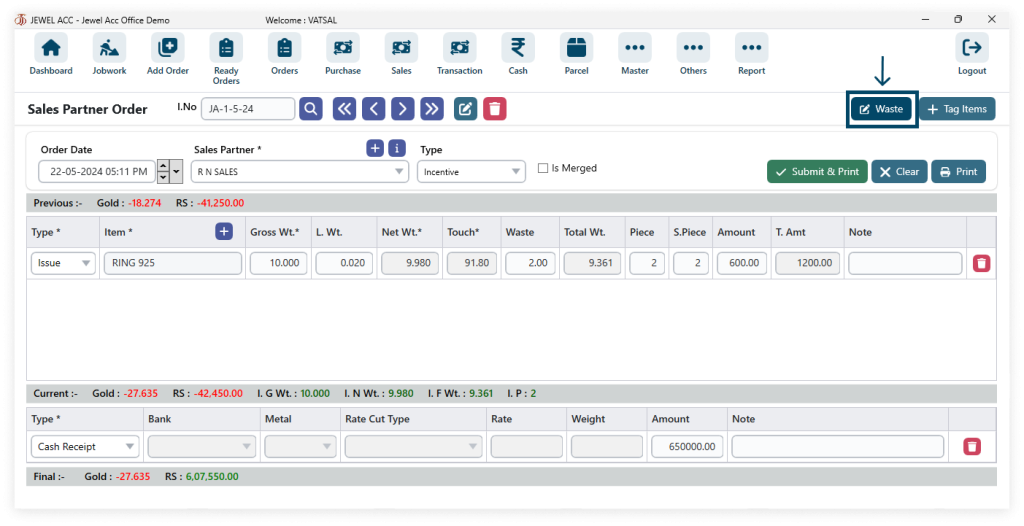
7. Generate Invoice.

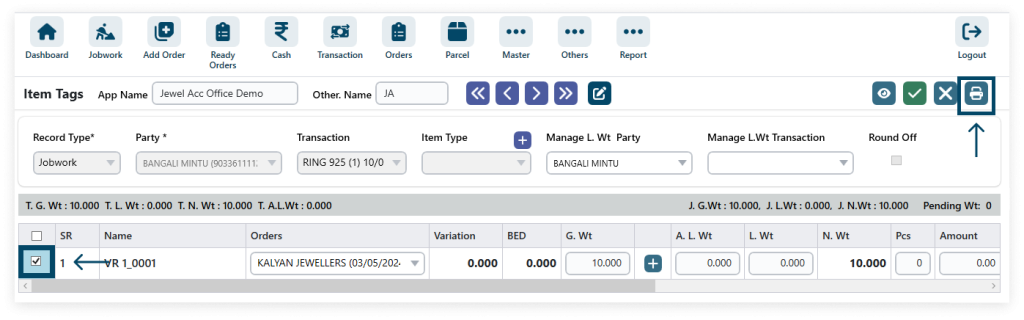
8. Click the print with letterhead.