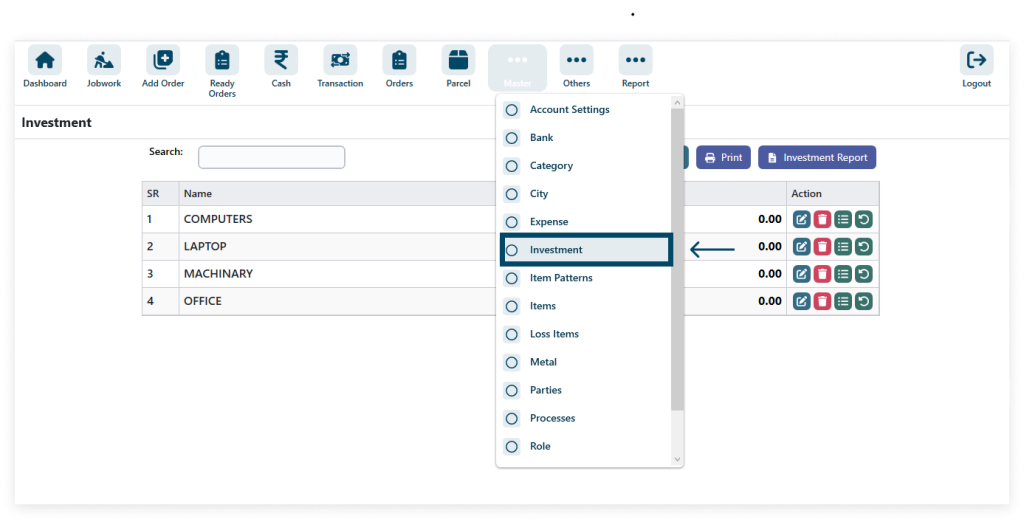
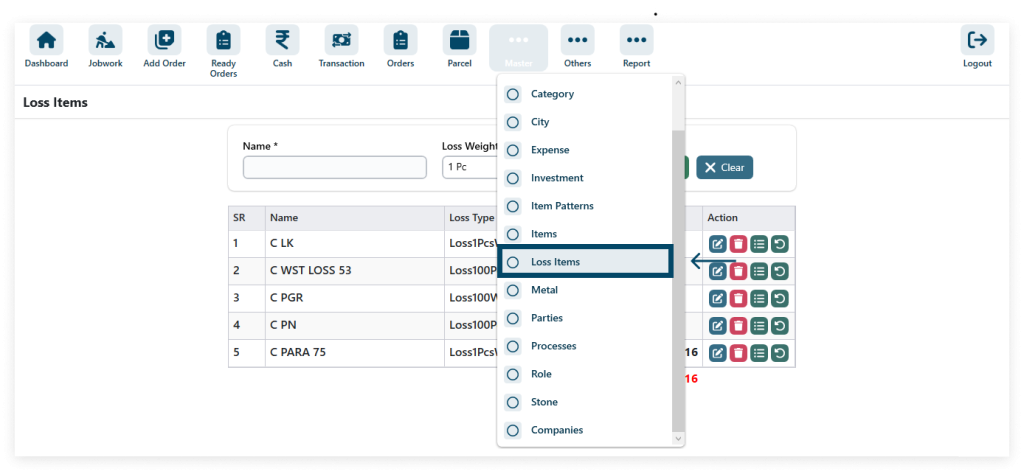
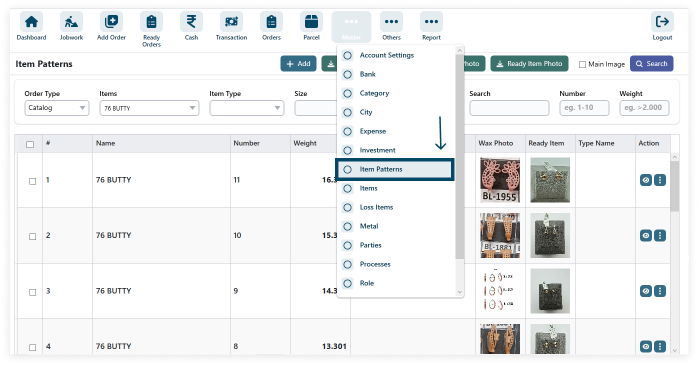
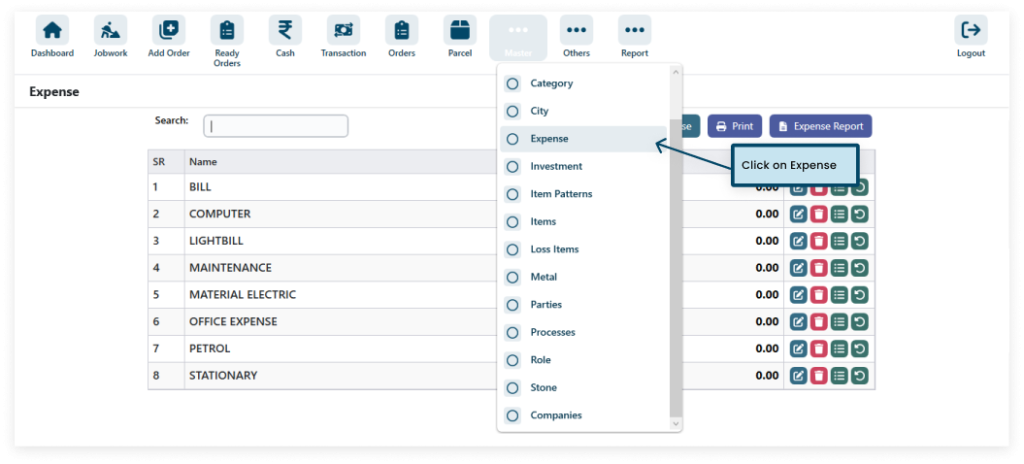
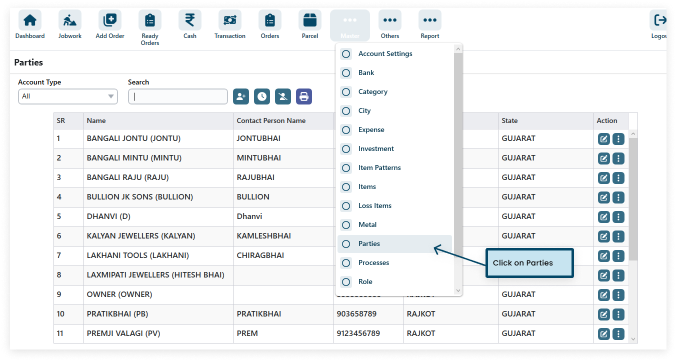
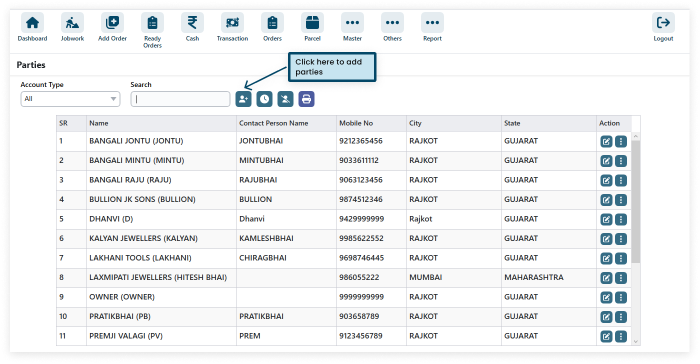
1. To access the Parties menu, simply click on the Master section, and then select Parties from the dropdown menu.
Master => Parties
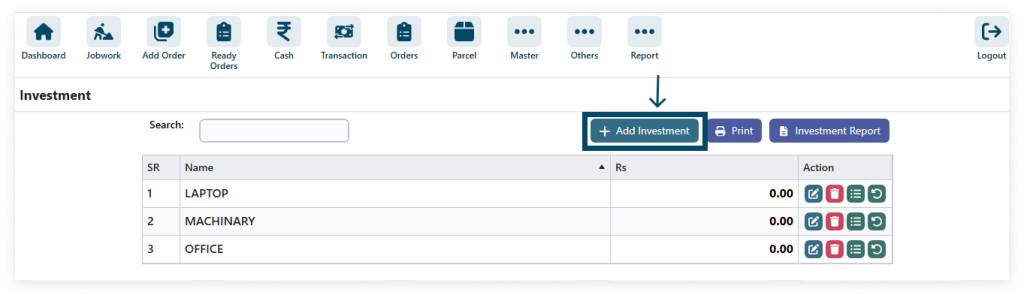
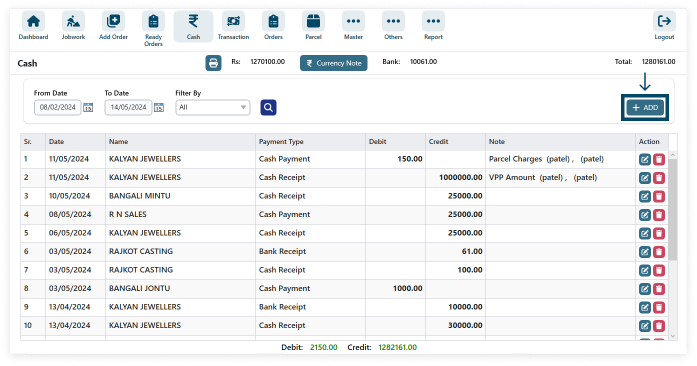
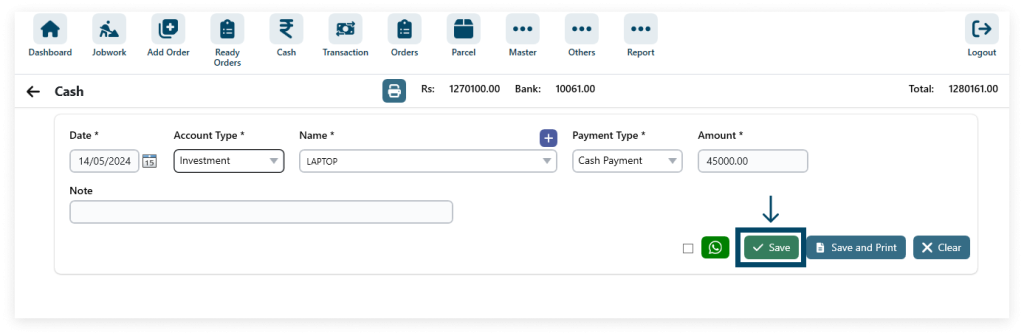
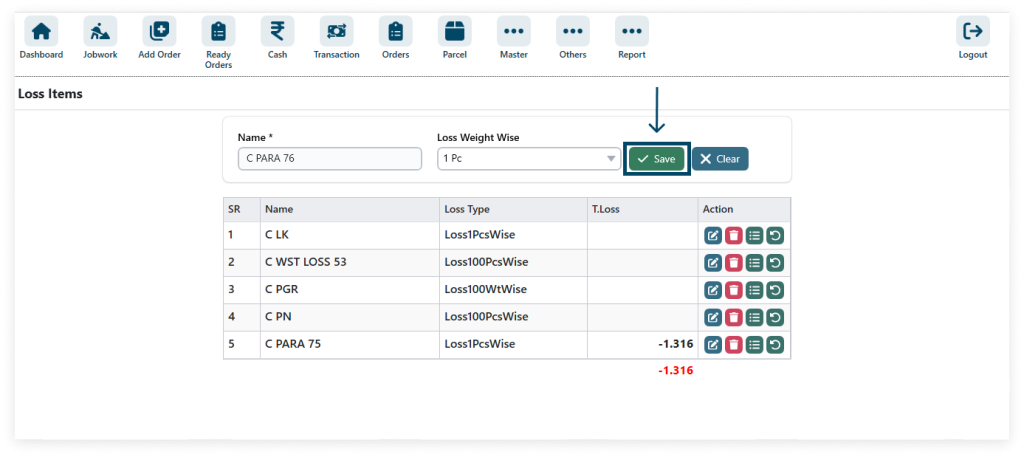
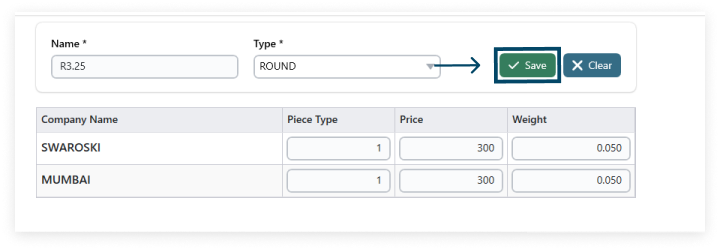
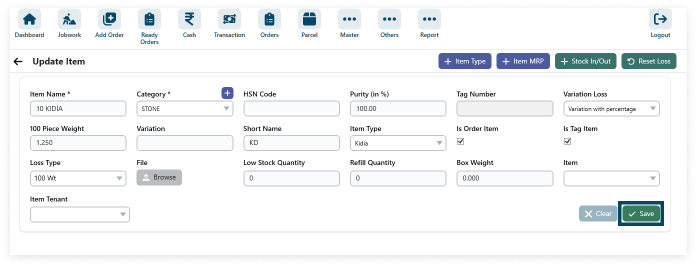
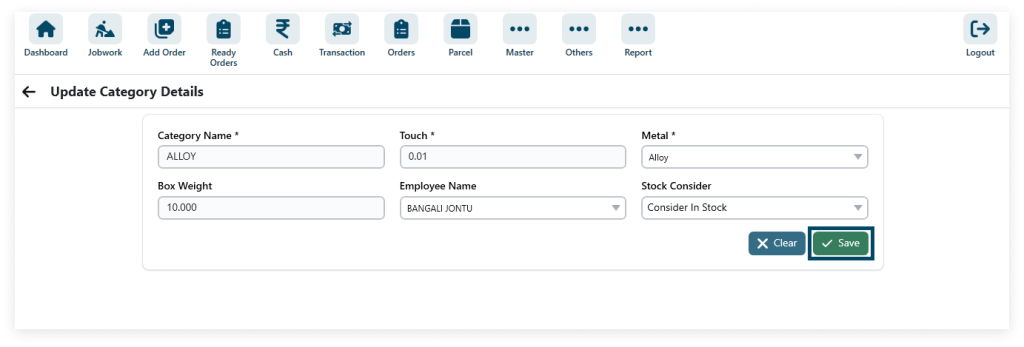
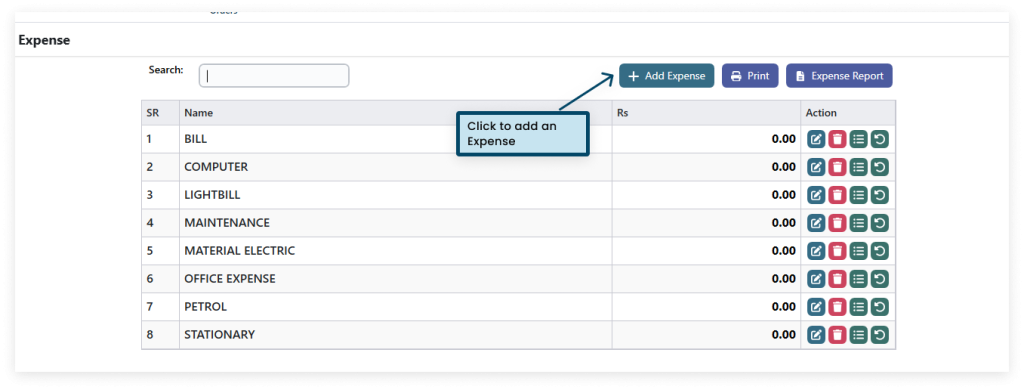
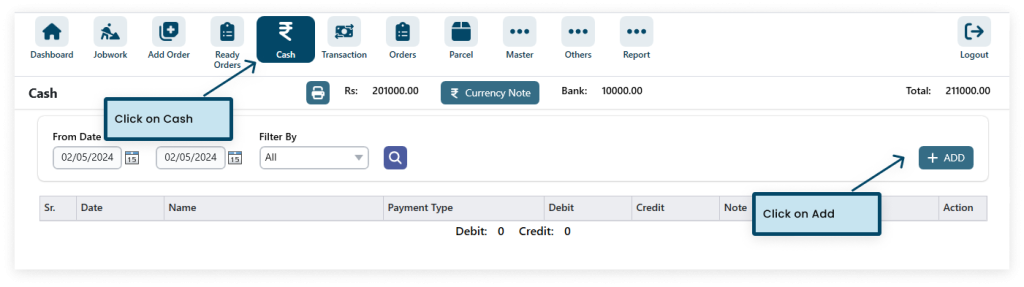
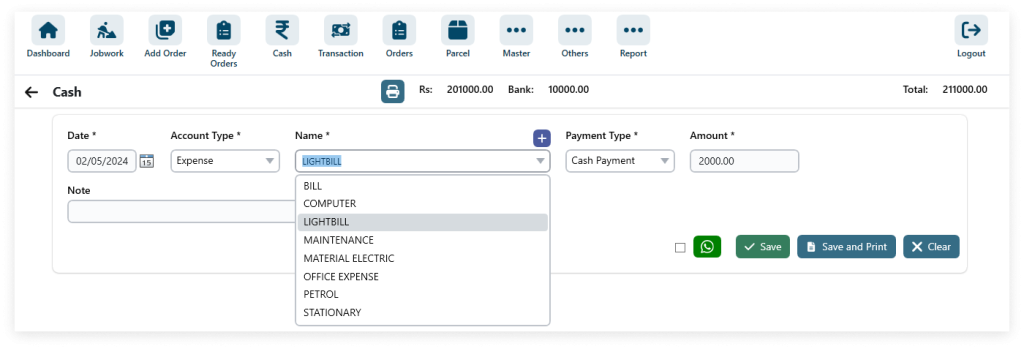
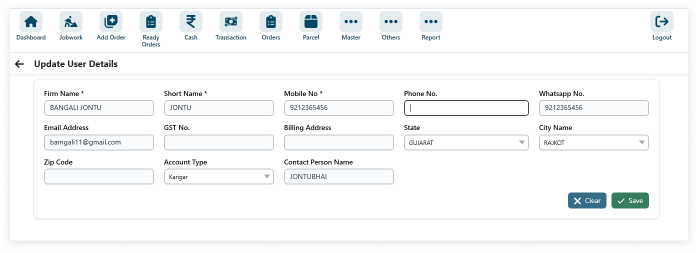
2. To add a new party, fill in all the required information fields within the Parties section of the software.
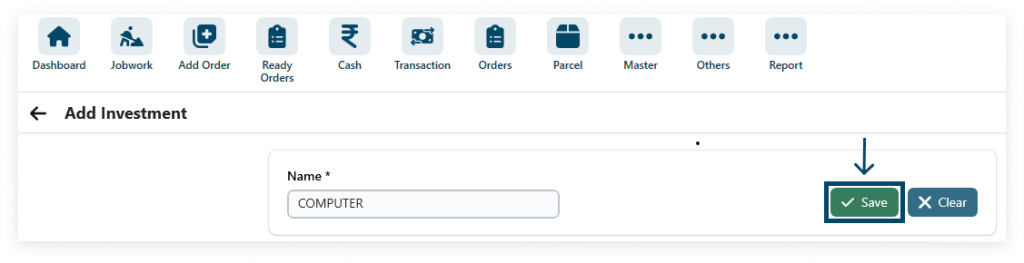
After filling in all the details (* field required) click on SAVE
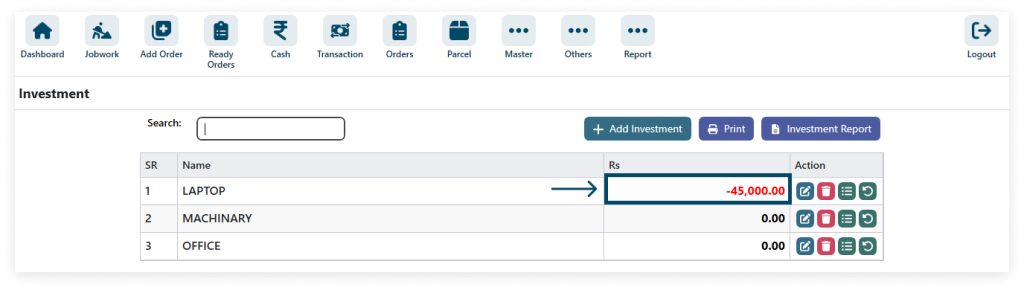
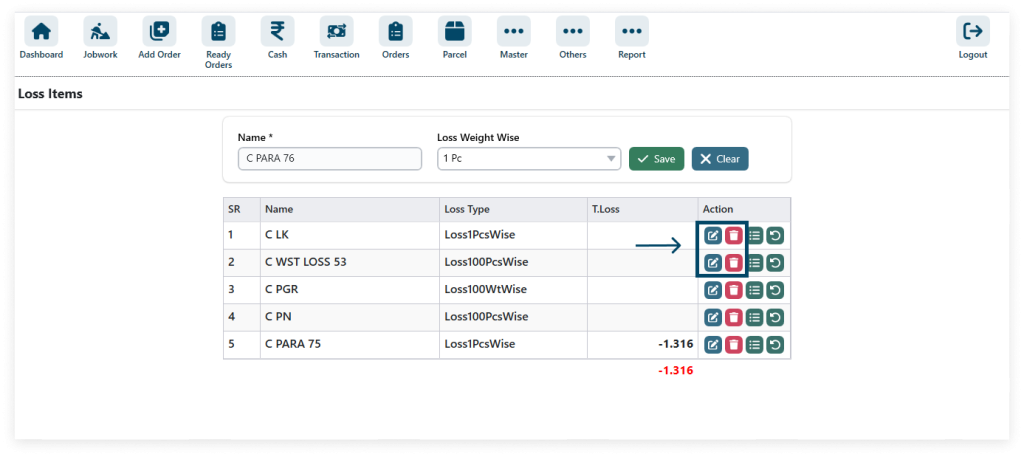
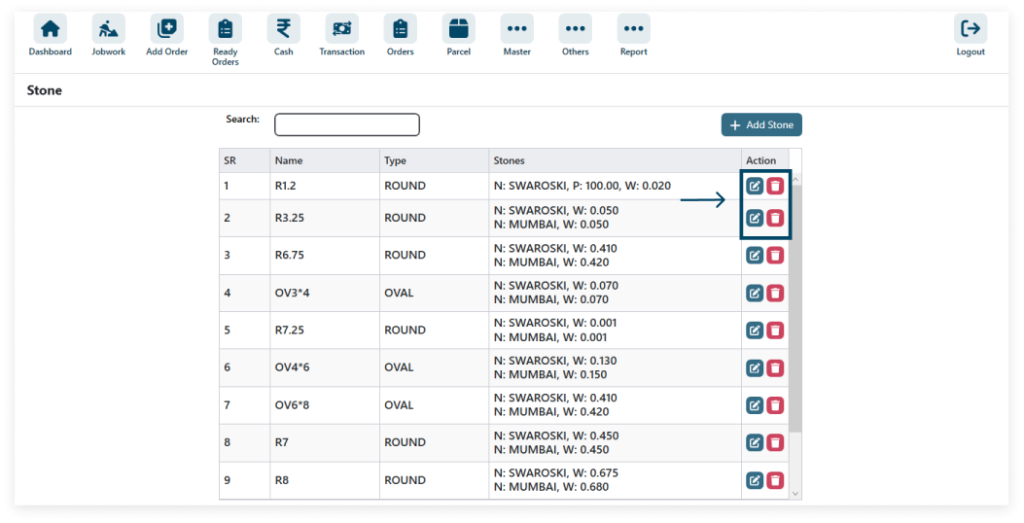
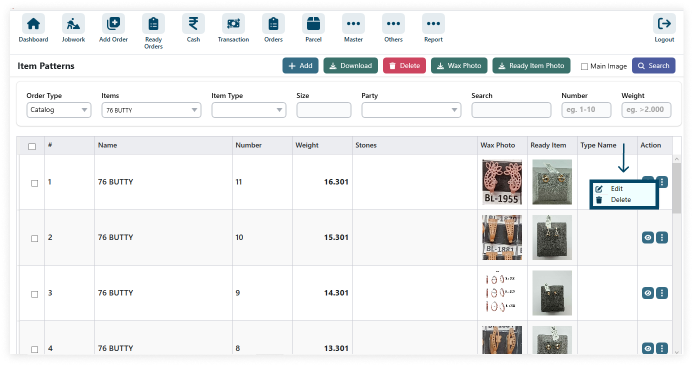
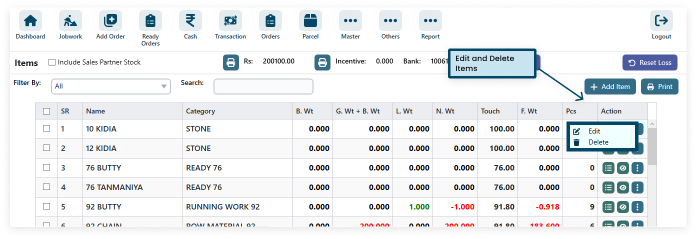
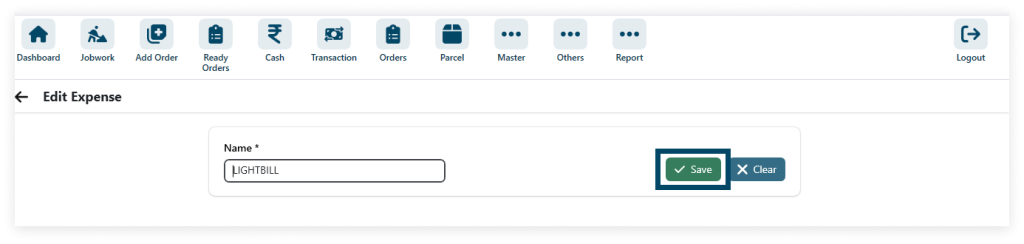
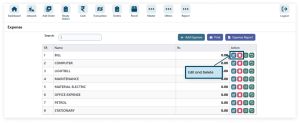
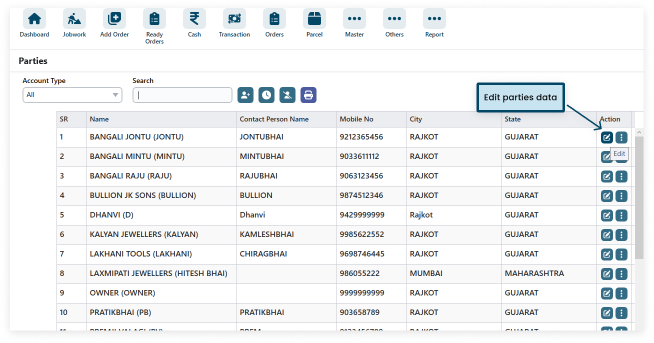
3. To edit existing data, navigate to the respective entry in the software’s interface and modify the desired fields, such as name and mobile number.
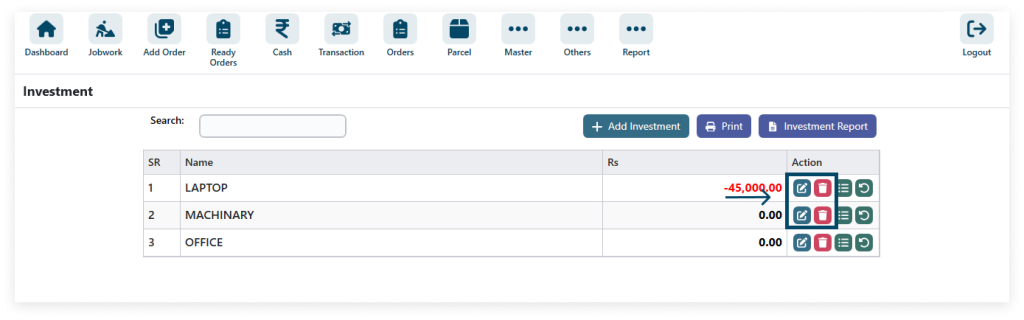
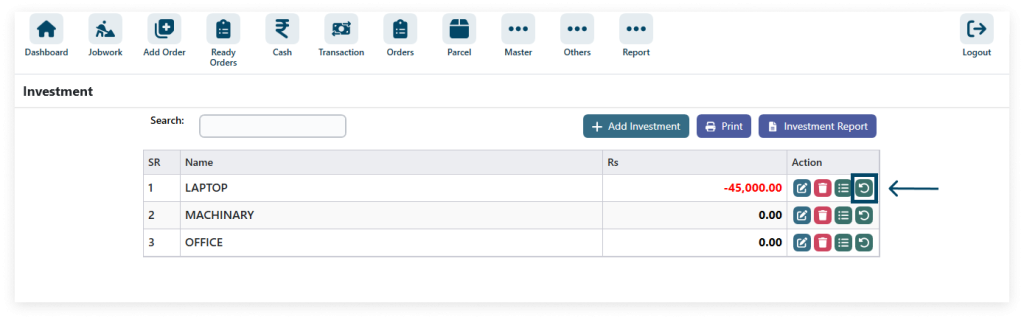
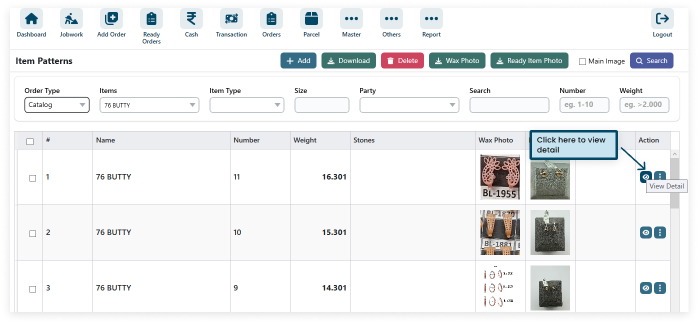
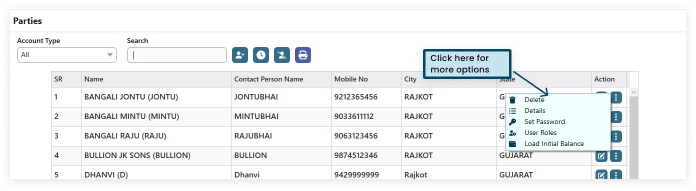
4. The point of the arrow icon in the image is that it allows you to delete the details of a partner’s account. This can be helpful if you are looking for a way to remove a partner from your list.
Details: Clicking on the arrow icon next to a partner will likely reveal more information about that partner, such as their address or company name.
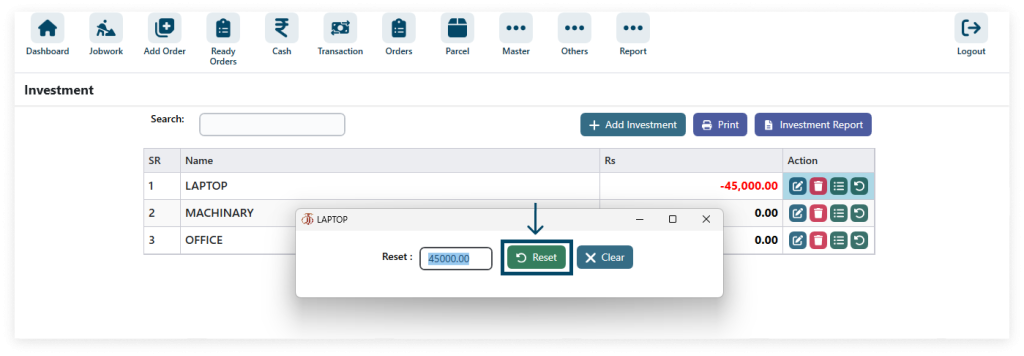
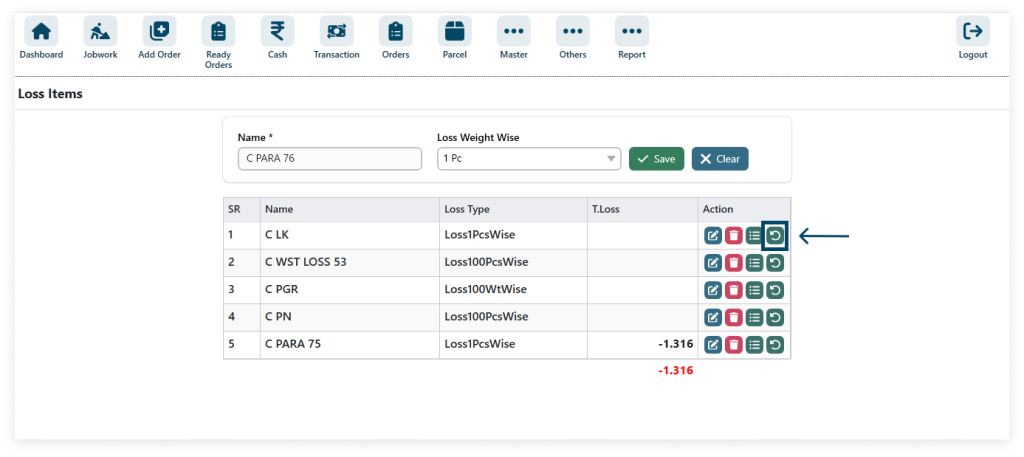
Set Password: This option allows you to set a password for the partner’s account. This could be useful if you want to restrict access to the account information.
User Roles: This option allows you to assign user roles to the partner. This could be useful if you want to give the partner specific permissions within the system.
Load Initial Balance: This option allows you to load money into the partner’s account. This could be useful if the system uses a prepaid system.
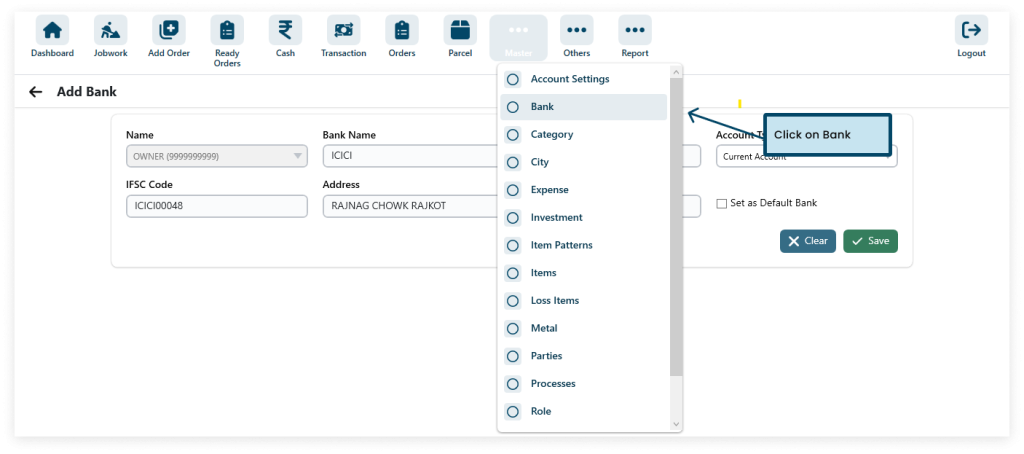
1. Got it! It seems you’re navigating through some software where you have to click on Bank within the Master section. Once you’ve clicked on Bank.
Master => bank
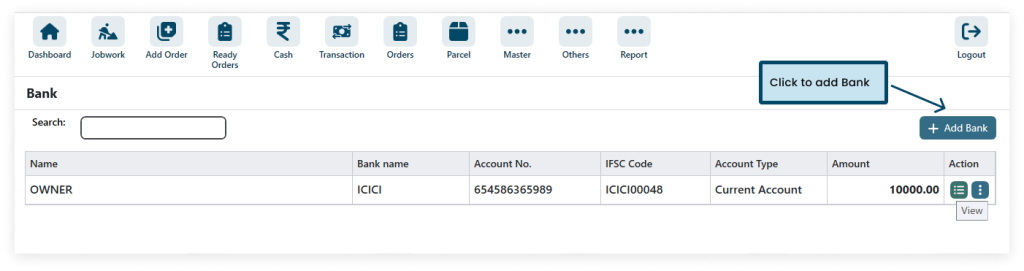
2. Click the Click to Add Bank button..
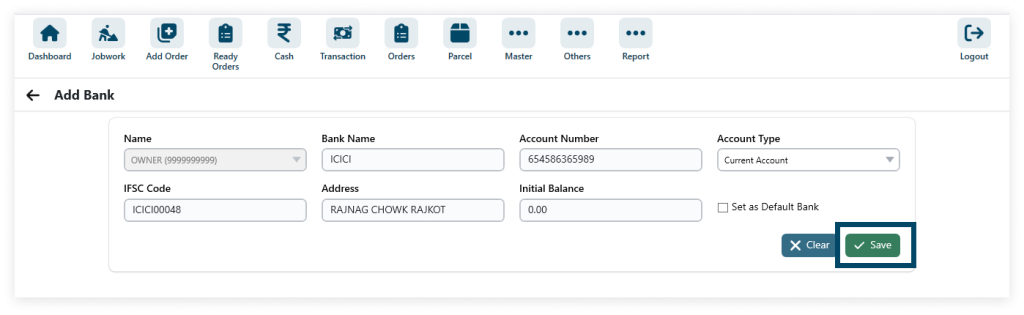
3. Enter your bank account information, such as your routing number, account number, and account type.
Step 1: After filling in all the details (* field required) click on SAVE
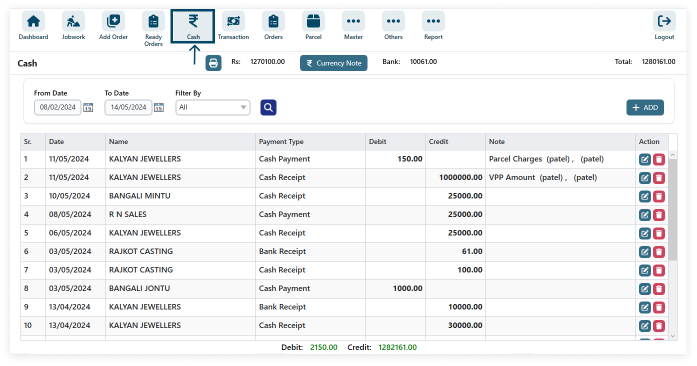
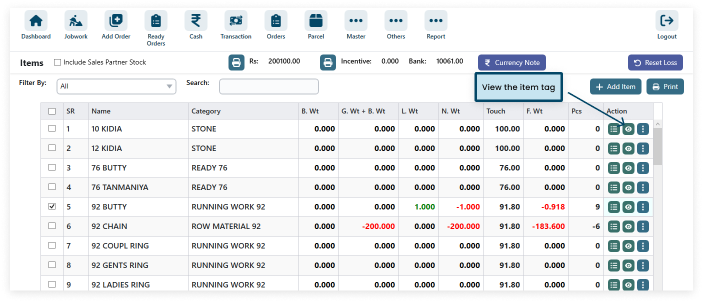
4. This bank dashboard lets you view, add, edit, and remove accounts, with options to deposit, withdraw, and see details.
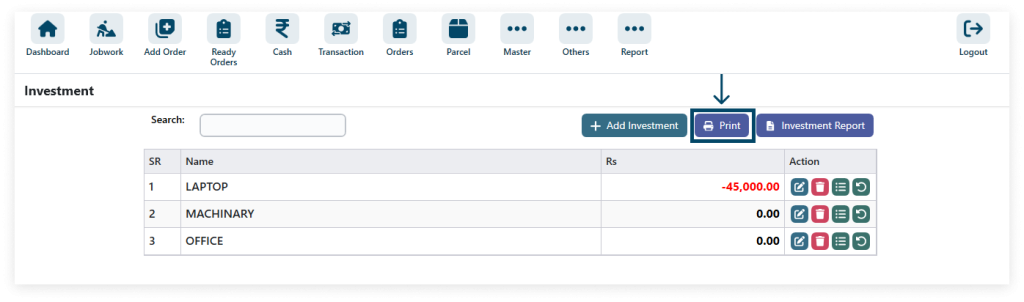
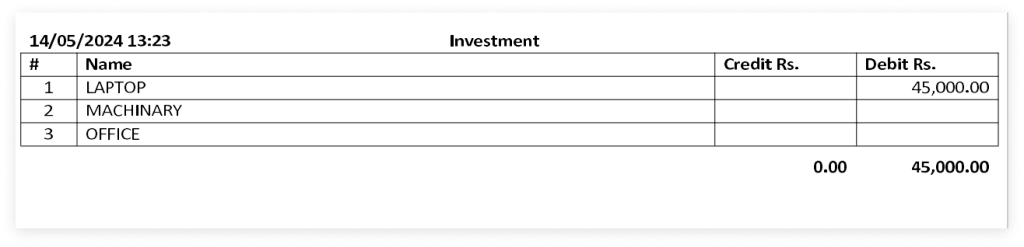
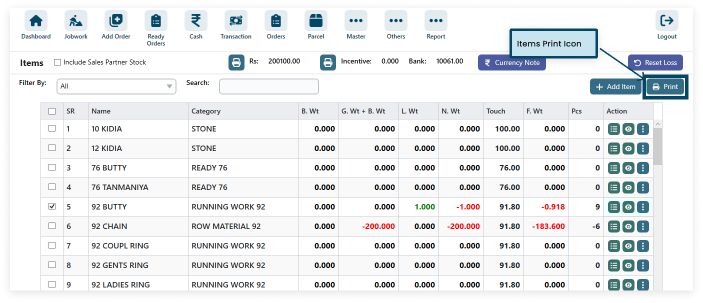
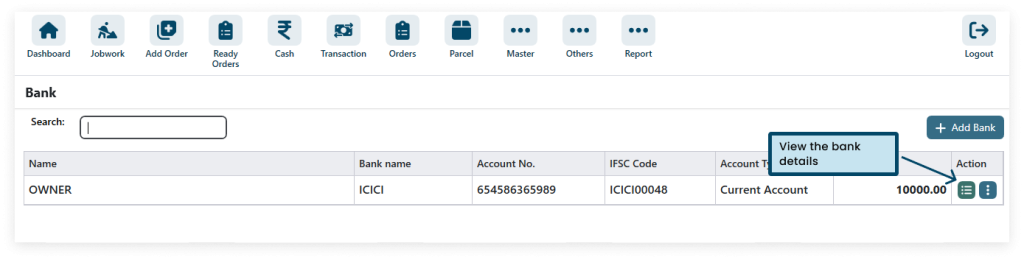
5. View the bank details and users can print or download PDF or Excel sheets of bank details.
6. By following these steps, you can create a feature that allows users to view, print, and download bank details in PDF or Excel format within your software application.
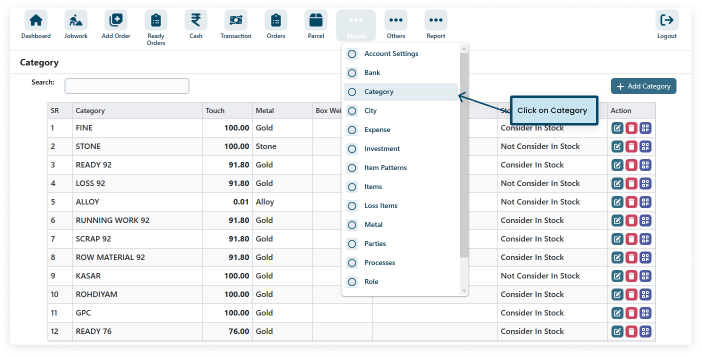
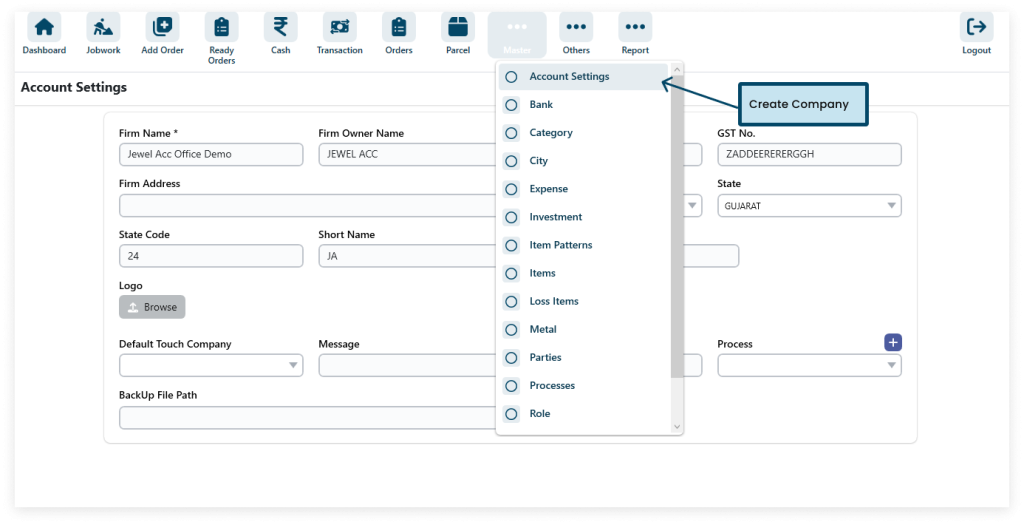
1. Navigate to the master section and select Account Settings to configure the master settings related to accounts. From there, proceed to create a new company.
Master => Account Settings
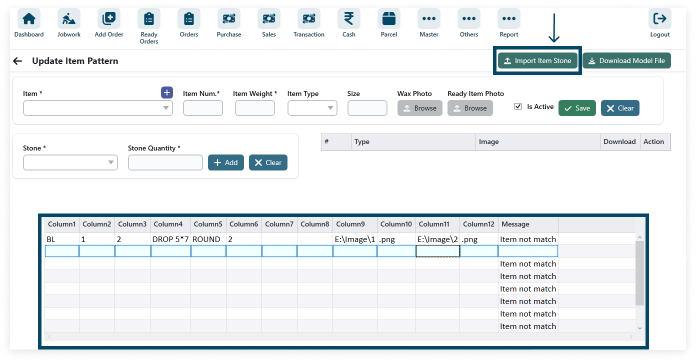
2. Add details
Users can easily input and manage the information in your software. Additionally, offering options like browsing for a logo and specifying backup file paths enhances the user experience and functionality of your software.
After filling in all the details (* field required) click on Save